Discover how to maximise space in your second storey addition with clever design tips and smart storage solutions to create a functional and spacious home.
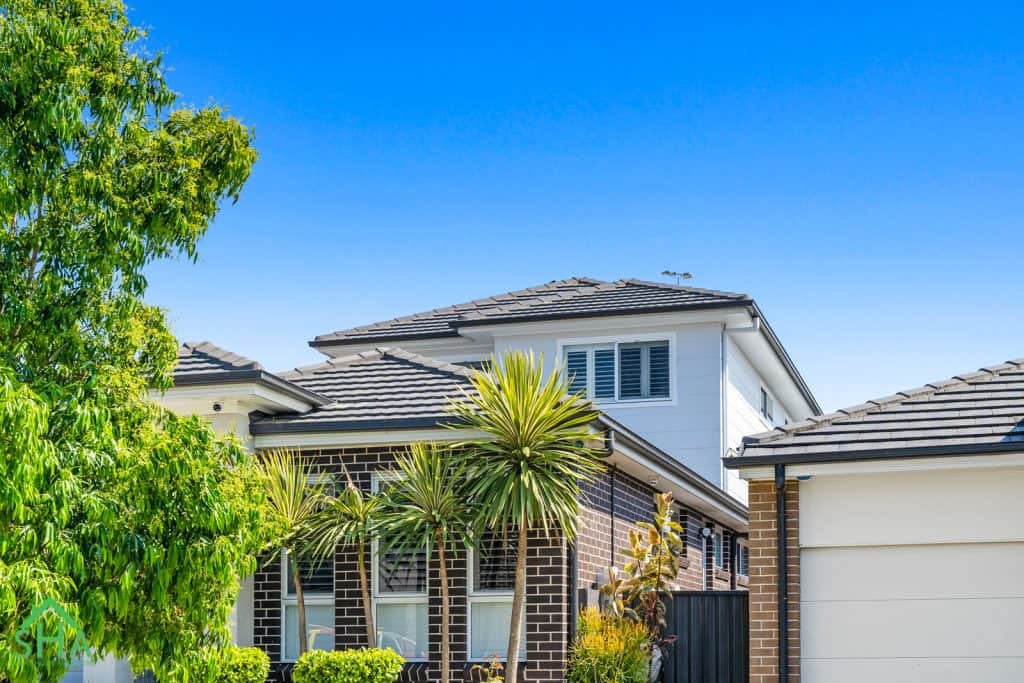
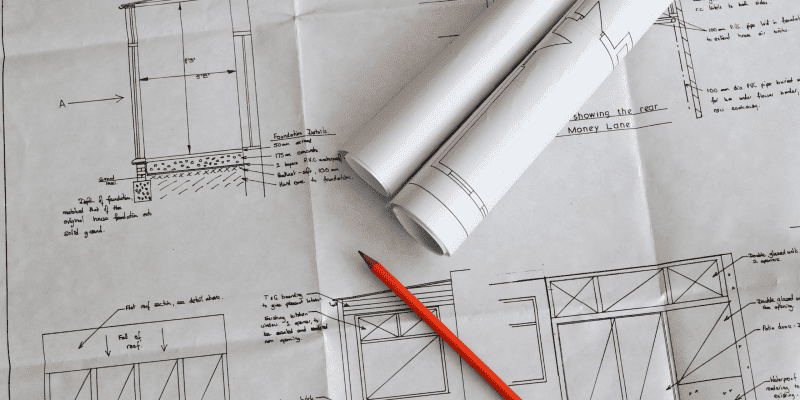
Adding a second storey to your home is a fantastic way to gain extra space without extending your homes footprint. However, making the most of this new area requires careful planning and smart design choices. This blog post will provide space-saving design tips and clever storage solutions to help you maximise space in your second storey addition, ensuring a functional and spacious home.
Space-Saving Design Tips
Prioritise Open Floor Plans
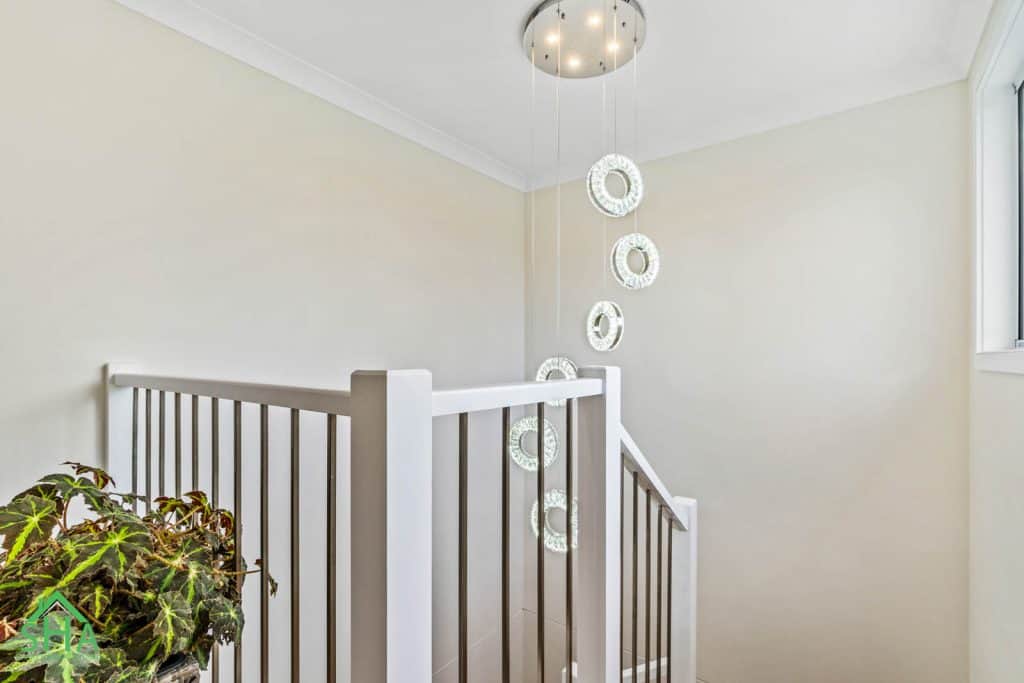
An open floor plan can make a second storey addition feel more spacious and airy. By reducing the number of walls and barriers, you create a sense of continuity and flow between different areas. This design approach is particularly effective for common areas such as living rooms and kitchens, where an open layout can facilitate social interaction and movement. Generally, the stair placement is in a bedroom area next to living and we will remove an internal wall to open this up and create more open plan space
Use Sliding Doors
Traditional hinged doors can take up valuable floor space when they swing open. Sliding doors, on the other hand, glide along a track, saving space and adding a modern touch to your home. Cavity sliding doors or pocket doors slide into the wall and are another excellent option for saving space in tight areas.
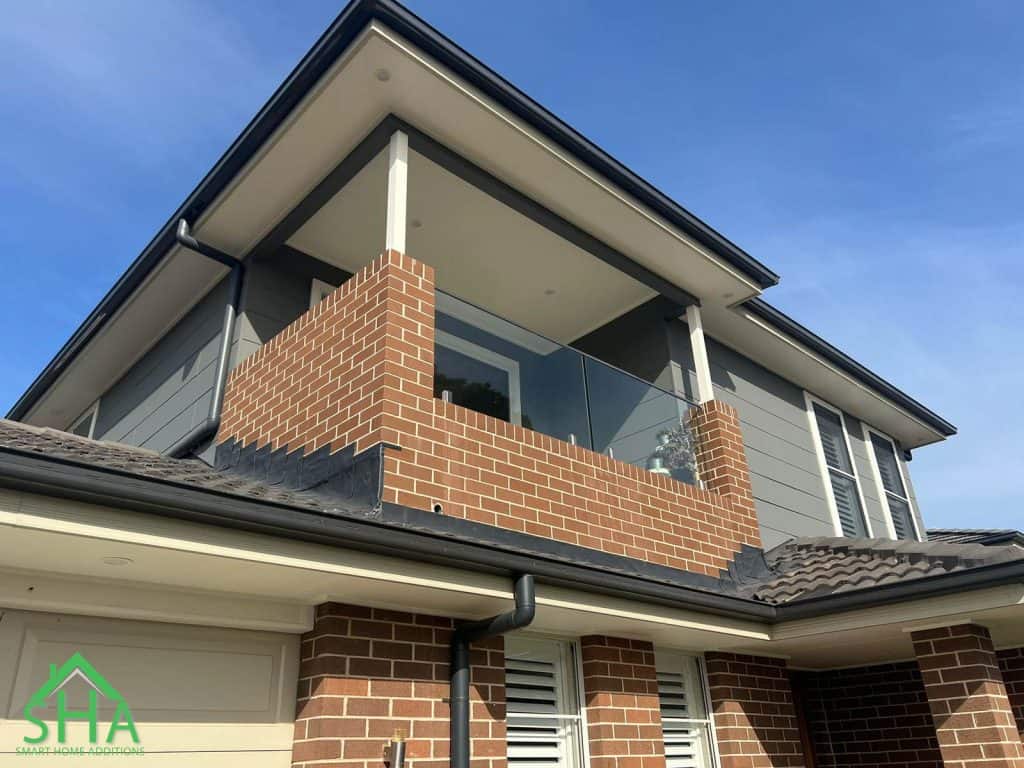
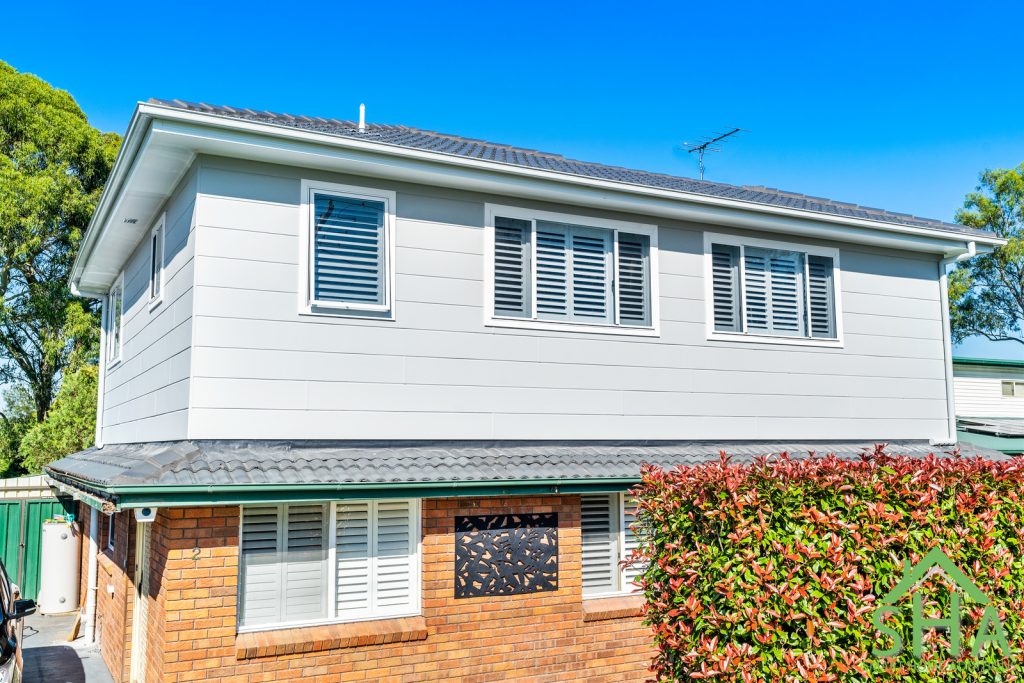
Install Skylights and Large Windows
Natural light can make any space feel larger and more inviting. Installing skylights and large windows in your second storey addition will not only brighten up the area but also create a sense of openness. Position windows to maximise natural light throughout the day and consider using mirrors to reflect light and enhance the feeling of space.
Create Flexible Spaces
Designing flexible spaces that can adapt to different uses is essential for maximising space. For example, a guest bedroom can double as a home office, or a playroom can transform into a media room. Incorporating movable partitions or foldable furniture can help you create adaptable spaces that cater to your changing needs.
Create More Storage
More storage! The common discussion with every client we meet is that they’re craving more storage! When you’re building an addition, think about also utilising the roof space and adding an attic ladder with some floor sheeting to create extra storage space that is out of the way of the general use of the home. Perfect for those items not needed everyday such as suitcases, camping gear and Christmas tree decorations.
Opt for Multi-Functional Furniture
Multi-functional furniture is a game-changer for maximising space in your second storey addition. Look for pieces that can serve multiple purposes, such as a sofa bed, a dining table with built-in storage, or an ottoman that doubles as a coffee table and storage unit. This type of furniture not only saves space but also adds versatility to your home.
Incorporate Built-In Furniture
Built-in furniture can be tailored to fit your space perfectly, providing a seamless and integrated look. Built-in wardrobes, bookshelves, and benches can be customised to fit awkward spaces or corners, ensuring no area is wasted. This approach also allows you to incorporate storage solutions that blend with the room’s design, maintaining a cohesive aesthetic.
Clever Storage Solutions
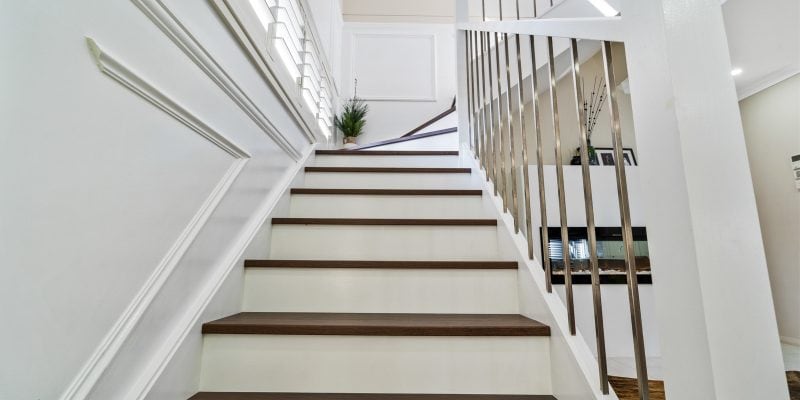
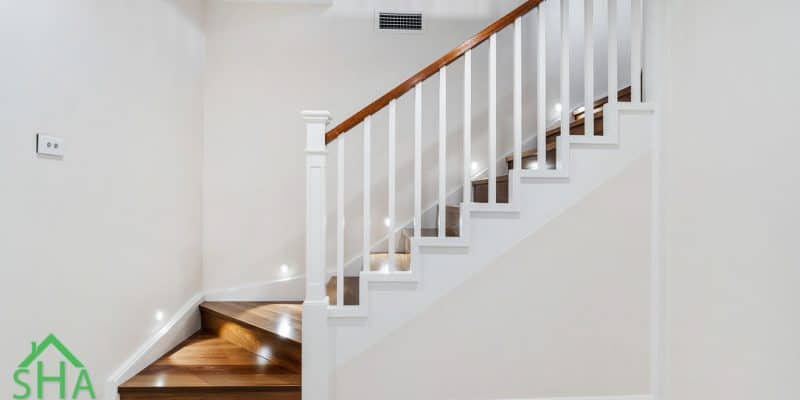
Under-Stair Storage
The space under the stairs is often overlooked but can be transformed into valuable storage. Install drawers, shelves, or even a small home office in this area to make the most of every inch. Custom-built storage solutions can be tailored to fit the exact dimensions of the space, providing a seamless and efficient storage option.
Use Built-In Wardrobes
Built-in wardrobes can be designed to maximise storage in bedrooms while maintaining a sleek and organised appearance. Consider incorporating features like pull-out shoe racks, adjustable shelving, and hanging rods at different heights to optimise space. Mirrored wardrobe doors can also help make the room feel larger and brighter.
Hidden Storage Solutions
Hidden storage solutions can help keep your second storey addition tidy and clutter-free. Consider using furniture with hidden compartments, such as beds with storage drawers underneath, or coffee tables with lift-up tops. These discreet storage options allow you to keep essentials out of sight while maintaining a clean and organised space.
Conclusion
Maximising space in your second storey addition requires a combination of smart design choices and clever storage solutions. By prioritising open floor plans, utilising vertical and horizontal space, incorporating multi-functional and built-in furniture, and ensuring ample natural light, you can create a functional and spacious home. Employing clever storage solutions like under-stair storage, built-in wardrobes, and hidden compartments will help you keep your new space organised and clutter-free. With careful planning and thoughtful design, your second storey addition can become a valuable and versatile extension of your home.